How to Perform Netgear eax20 Setup in Less Than 5 Minutes
Netgear WiFi extenders are awe-inspiring networking devices intended to strengthen WiFi signals of the router and make them reach the far corners of the house or workplace. There are numerous models of Netgear extenders available in the market. And the most widely used extender is Netgear eax20. As soon as you pay for a new Netgear eax20 WiFi extender, you need to set it up with great care. When it comes to the Netgear eax20 setup part, you don’t have to worry as we are always here to lend a helping hand.
This post will walk you through a step-by-step guide for Netgear eax20 extender setup. Let’s get the ball rolling.
Prerequisites for Netgear Eax20 Extender Setup
Here is a list of things you need to consider while installing your eax20 extender:
-
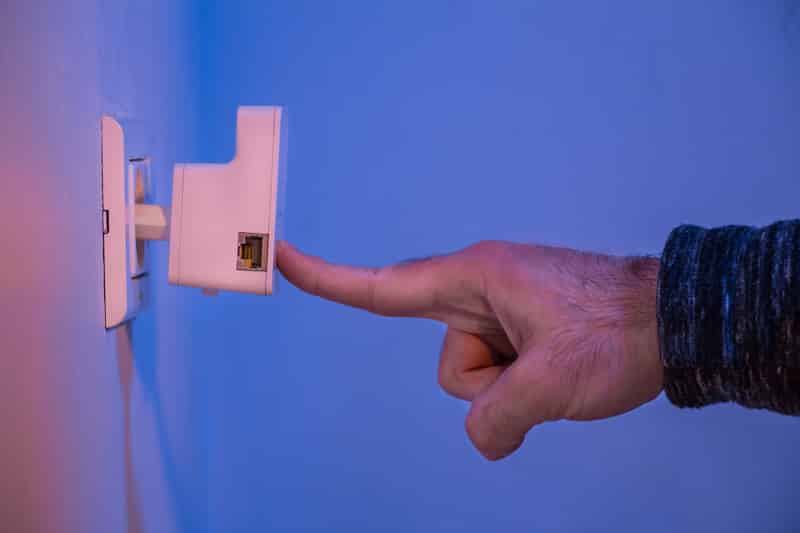
The extender must be powered on.
-
As Netgear extender is a plug and play device, so it’s suggested to reset the extender before getting started with the installation process.
-
Note down the home router’s SSID and passphrase.
-
Keep the extender at a neat as well as clean place.
-
There should be constant power supply throughout the Netgear eax20 setup process.
-
Your computer should be connected to an active internet connection.
Once you are done with the above-mentioned things, get started with the Netgear eax20 WiFi range extender setup process.
One can set up the Netgear eax20 in two different modes: Extender Mode and Access Point Mode. When working in the Extender mode, it replicates the wireless signals with no use of any messy wires. On the other hand, the AP mode offers you superior WiFi speeds by decreasing interference.
Set up Netgear wifi Extender in Extender Mode
You can install the extender using mywifiext web page. Here is a step-by-step guide to set up the extender in Extender Mode:
-
Insert the power adapter of your extender into a wall outlet.
-
Turn on your computer.
-
Thereafter, pull up an internet browser on your PC.
-
Type mywifiext.net in the URL bar and hit Enter.
-
The Netgear EX6110 login page will display.
-
Type the user ID as well as security key to continue.
-
Choose the wireless range extender option.
-
Enter the password in passphrase field.
-
You will also see the genie wizard that provides on-screen Netgear eax20 setup steps.
Just follow them cautiously and configure your Netgear range extender. Now, you will also able to enjoy blazingly fast internet connection throughout the home or office.
Set up Netgear eax20 Extender in Access Point Mode
To set up the extender in the Access Point mode, you need an Ethernet cable to connect your Netgear Extender. Here’s how to install the Netgear eax20 extender as an Access Point:
-
Plug your range extender into an electrical outlet.
-
Grab an Ethernet cable and also make a wired connection between your extender and router using it.
-
Power up a PC or laptop.
-
Make sure that it is also connected to a fast WiFi network.
-
Double click on a web browser’s icon to open it.
-
Head over to the mywifiext.net login page.
-
Type the admin username as well as passphrase.
-
Hit the Access Point button.
-
Walk through the on-screen steps.
That’s it! Your Netgear extender is now in the Access Point Mode. You can now access its network via its network name netgear_ext.